前言
在做实验的时候,经常遇到需要开多个终端同时执行一些命令,但是 vscode 终端原生要么只支持垂直切分窗口,要么只支持水平切分窗口,还是不太够用,我希望能同时水平和垂直切分,一直不知道用什么关键词搜索,也就一直没找到趁手的工具。昨晚,问了一嘴 ChatGPT,它给我推荐了 tmux。
这里真的要表扬一嘴 AI,搜索引擎里很多东西你不知道关键词就搜索不出内容,但是 AI 却可以分析你说的大白话并给出回答,tmux 和终端复用。
在搜索 tmux 时,这篇文章同时推荐了 tmux 和 zellij,作为一个喜新厌旧的人,自然是要尝试一下新的 zellij 了。
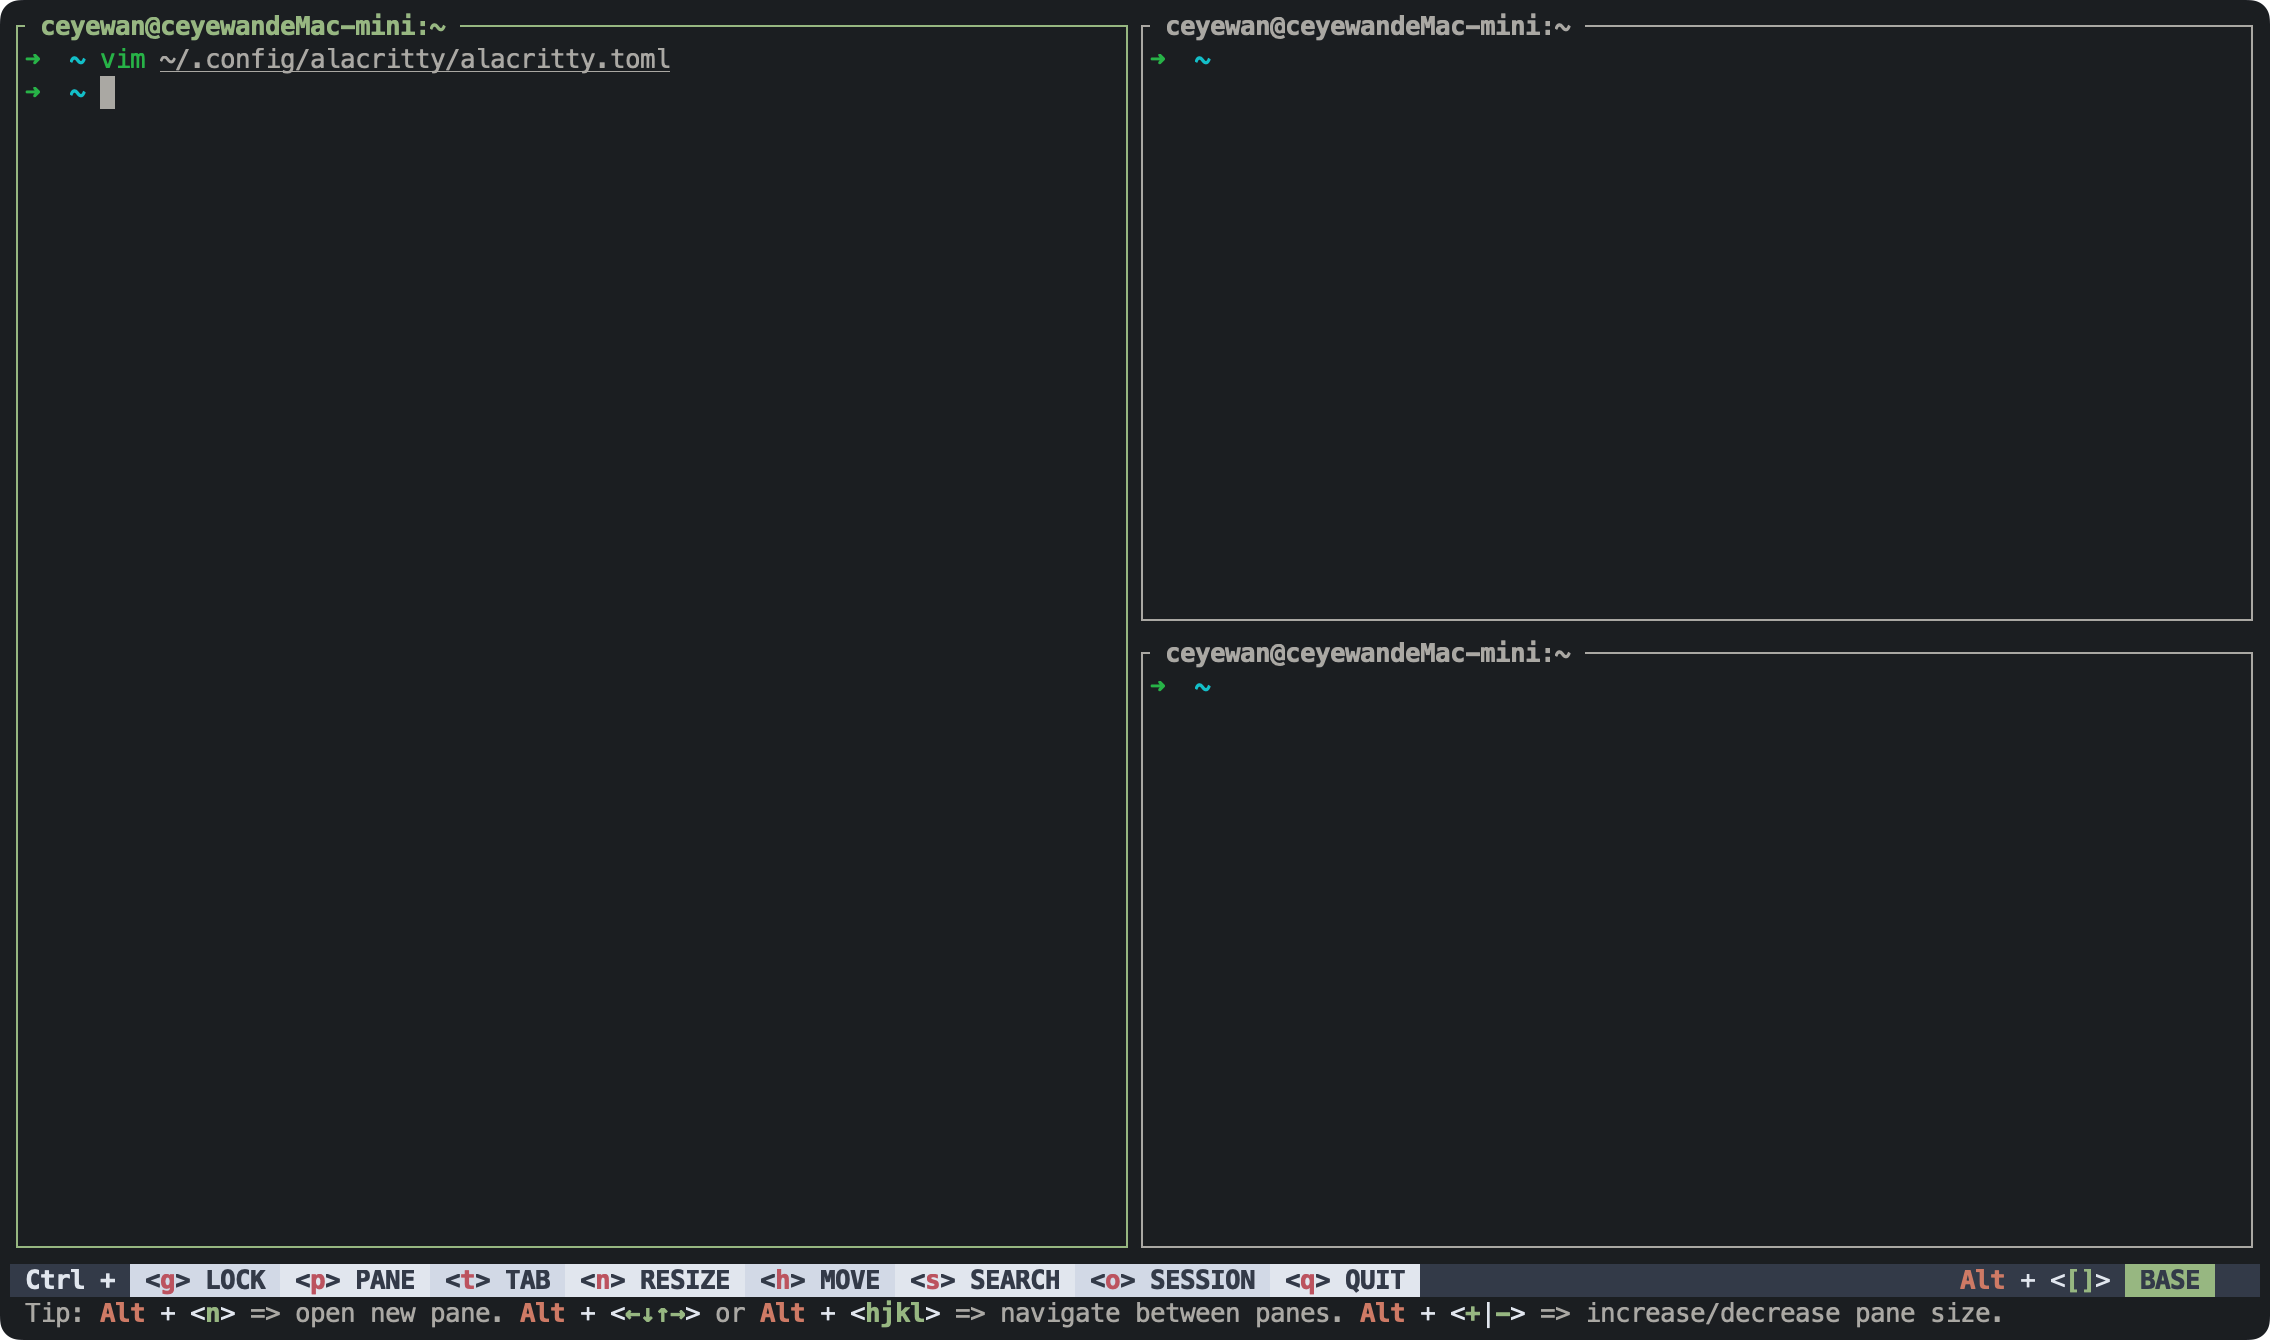
本文主要涉及三个软件,tmux、zellij 和 alacritty。如果不想尝试那么多,那么就只看 zellij 就可以了,先看看效果吧

tmux 初体验
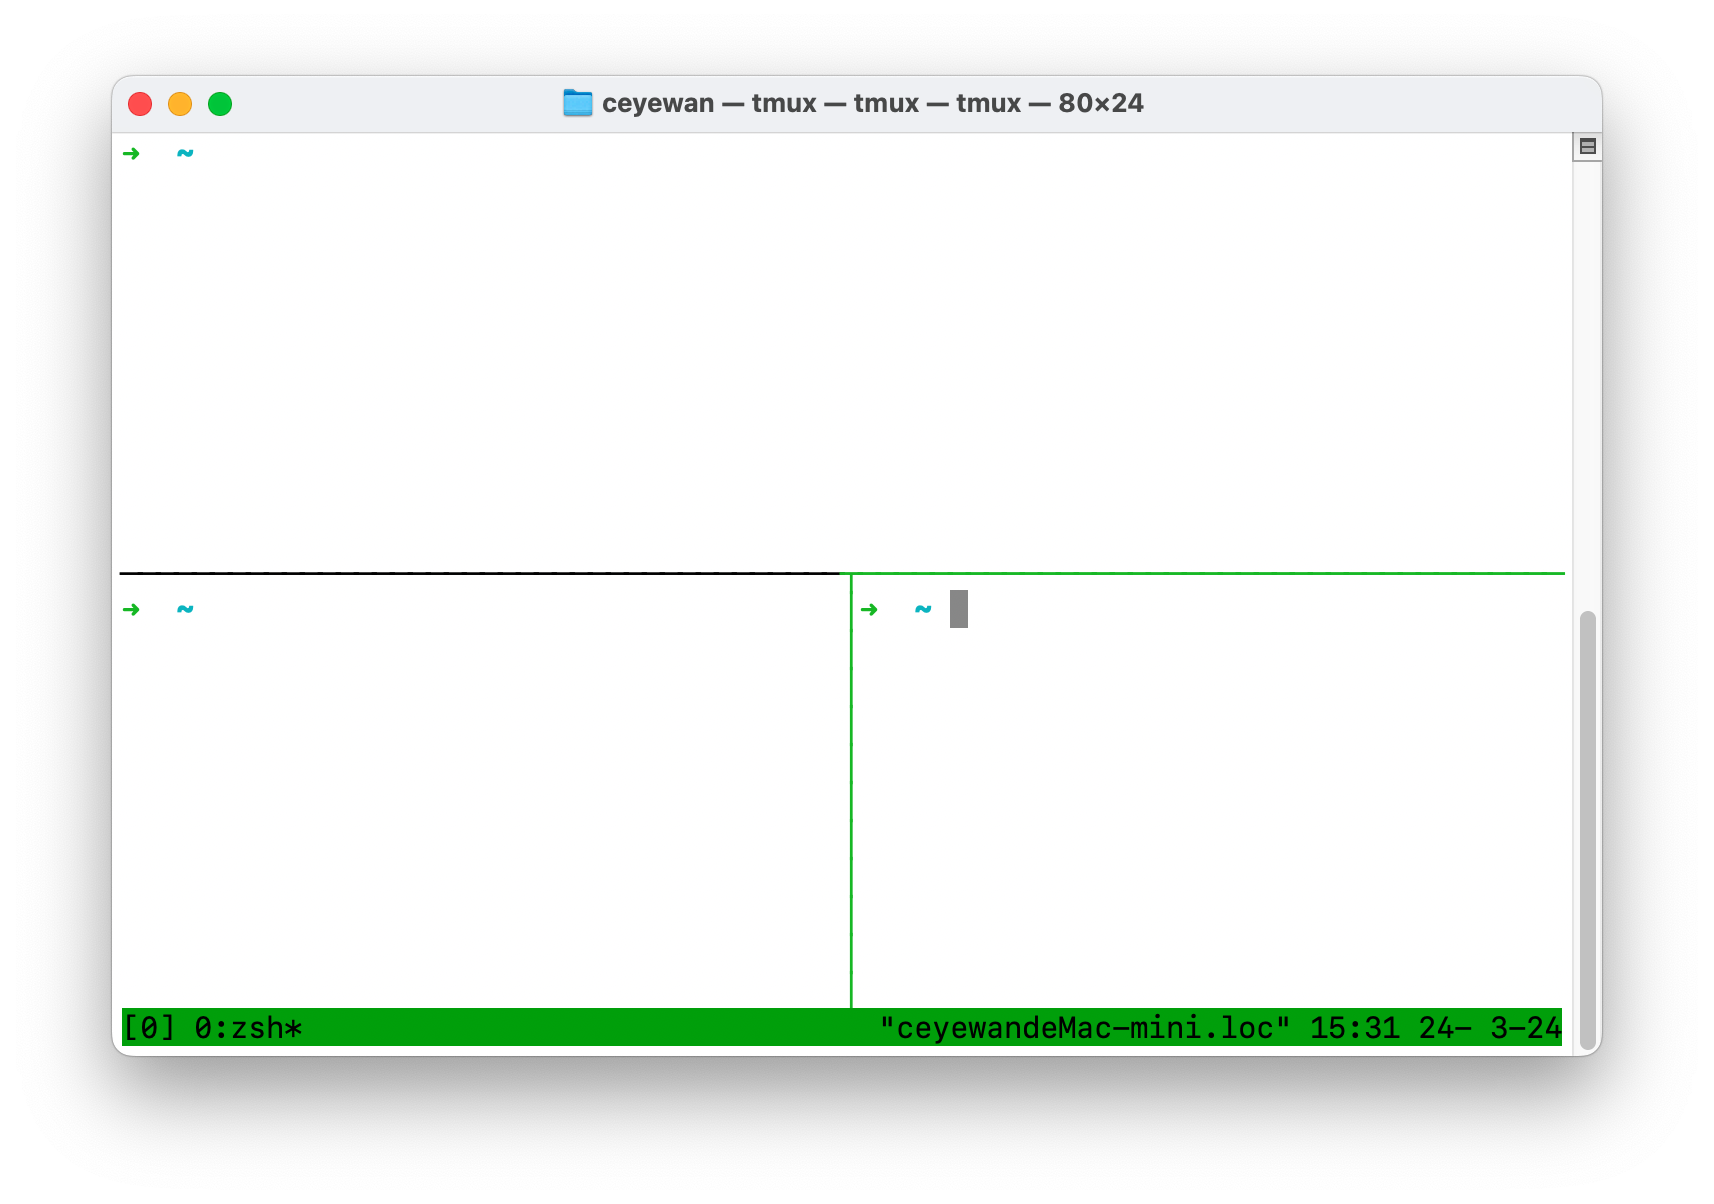
首先,我下载了 tmux,在 Mac 自带的终端中打开如下,输入 Ctrl+B 进入控制台,接下来输入 " 符号就可以上下切分窗口,输入 % 符号就可以左右切分窗口。

其实还不错,但是切换窗口不能使用鼠标点击。我也没再继续折腾下去了。
Alacritty 安装与配置
Alacritty 是一款终端模拟器,我们可以看到,在 MAC 默认的终端中使用 tmux,颜值还是有点丑的,不够炫酷。Alacritty 提供了高度的可定制性,我们可以把它配置成任意我们想要的样子。
安装 alacritty,使用
brew install alacritty安装即可。安装之后,我们可以看到,这软件的图标是真的丑。接下来我们给它换个图标。去 MacOSicons 这个网站,给它下载个好看的图标。然后我们找到访达-应用程序-alacritty,右键选择显示简介,将刚刚下载的 icns 拖动到简介左上角的图标那里即可。
新建配置文件,
~/.config/alacritty/alacritty.toml,内容如下:live_config_reload = true
# github Alacritty Colors
# 配色方案可以从 https://github.com/alacritty/alacritty-theme 中找
# Default colors
[colors.primary]
background = '#0d1117'
foreground = '#b3b1ad'
# Normal colors
[colors.normal]
black = '#484f58'
red = '#ff7b72'
green = '#3fb950'
yellow = '#d29922'
blue = '#58a6ff'
magenta = '#bc8cff'
cyan = '#39c5cf'
white = '#b1bac4'
# Bright colors
[colors.bright]
black = '#6e7681'
red = '#ffa198'
green = '#56d364'
yellow = '#e3b341'
blue = '#79c0ff'
magenta = '#d2a8ff'
cyan = '#56d4dd'
white = '#f0f6fc'
[[colors.indexed_colors]]
index = 16
color = '#d18616'
[[colors.indexed_colors]]
index = 17
color = '#ffa198'
[font]
size = 13.0
[font.offset]
x = 0
y = 3
[font.glyph_offset]
x = 0
y = 2
[shell]
# 默认 shell 是 zsh 并使用 zellij 参数(需要提前安装)
args = ["-l", "-c", "zellij"]
program = "/bin/zsh"
[selection]
save_to_clipboard = true
semantic_escape_chars = ",│`|:\"' ()[]{}<>"
[window]
decorations = "buttonless" # 透明且没有窗口控制标签
opacity = 0.95 # 不透明度
dynamic_padding = true
dimensions = { columns = 150, lines = 40 } # 窗口大小
option_as_alt = "both" # mac 中将 option 当做 alt,zellij 快捷键常用
[window.padding]
x = 5
y = 5配置主要跟着官网的教程来就好了,我搜了很多中文教程,基本上都过时了,反而会耽误时间。
zellij 安装与配置
zellij 是一个终端复用工具,当然了,和 tmux 一样,也支持会话机制,通俗来讲就是关闭窗口并不会终止会话,可以更方便的后台执行了。
安装 zellij,执行
brew install zellij即可。新建配置文件,
~/.config/zellij/config.kdl,内容如下:default_shell "/bin/zsh"
// 默认布局
default_layout "ceyewan"
// 无箭头字体
simplified_ui true
// 显示边框
pane_frames true
// 缓冲区行数
scroll_buffer_size 10000
// 鼠标选择和选择即复制, 按住 shift 使用终端原生选词
copy_on_select true
mouse_mode true
// 镜像会话
mirror_session true
// 默认模式
default_mode "normal"
// 主题
theme "nord"
themes {
nord {
fg 216 222 233
bg 46 52 64
black 64 67 77
red 191 97 106
green 163 190 140
yellow 235 203 139
blue 129 161 193
magenta 180 142 173
cyan 136 192 208
white 229 233 240
orange 208 135 112
}
}新建 layout 配置文件,
~/.config/zellij/layouts/ceyewan.kdl如下,一个 pane 就是一个窗口。下面有一个 compact-bar、pane 和 status-bar,status-bar 前期还有有用的,记快捷键。除非有自己高度的定制需要,不然直接去官方那里找就好了。
layout {
    pane size=1 borderless=true {
        plugin location="zellij:compact-bar"
    }
    pane split_direction="vertical" {
        pane
        pane split_direction="horizontal" {
            pane
            pane
        }
    }
    pane size=2 borderless=true {
        plugin location="zellij:status-bar"
    }
}
到这里,配置就已经结束了。最终的效果如下:

在默认终端和 vscode 也可以直接执行 zellij 命令使用它,效果很棒!